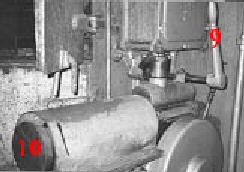
| Gun House |
| Turret 1, port side with Hans Kittel, BB35 veteran, 1927 - 1931. Photo courtesy of his son Robert. |
|
|
| OVERVIEW |
| Follow a shell and bags from entering the Gun House and into the gun and learn what the sailors did to make this happen. Doing so in 1945 was the same in 1914 for the equipment is still the same as well as the configuration of the Gun House. Powder bag loading was very labor intensive, especially compared with WWII constructed battleships. There were simultaneous activities by many sailors at all time. The working areas are small with numerous objects on which injury can happen if careless. |
| The below firing process happens every 45 seconds |
| Step 1 of 5: Readying For Loading |
| Lower gun elevation to 1 degrees. 1. Inject compressed air into the barrel to blow out hot residue from previous firing 2. Pull breech handle down. 3. Rotating an interrupted screw type breech open and swinging the breech outboard. (US battleships of WWII construction have breeches that swing down). 4. Visually inspect the bore. 5. Lower the loading tray into the breech seat. (The tray is 2 parts and hinged in the middle). |
 |
| Section of "Arrangement of Electrical Controlling Apparatuses in 14in Turrets - USS TEXAS", Newport News 55791, USN approval date of 6 June 1912. |
 |
| Step 2 of 5: Loading a Shell |
|
6. Tilt shell aft and out
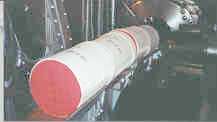
of the shell hoist (brought up from the Upper Handling Room). 7. Slide shell onto the transfer tray. 8. Roll shell onto the loading tray. 9. The rammer control arm is pulled down, starting the electric powered rammer. 10. The rammer pushes the shell 224 inches. note: 144 inches is on the loading tray to just forward of the breech seat. The shell is pushed another 80 inches for the 4 powder bags. |
  |
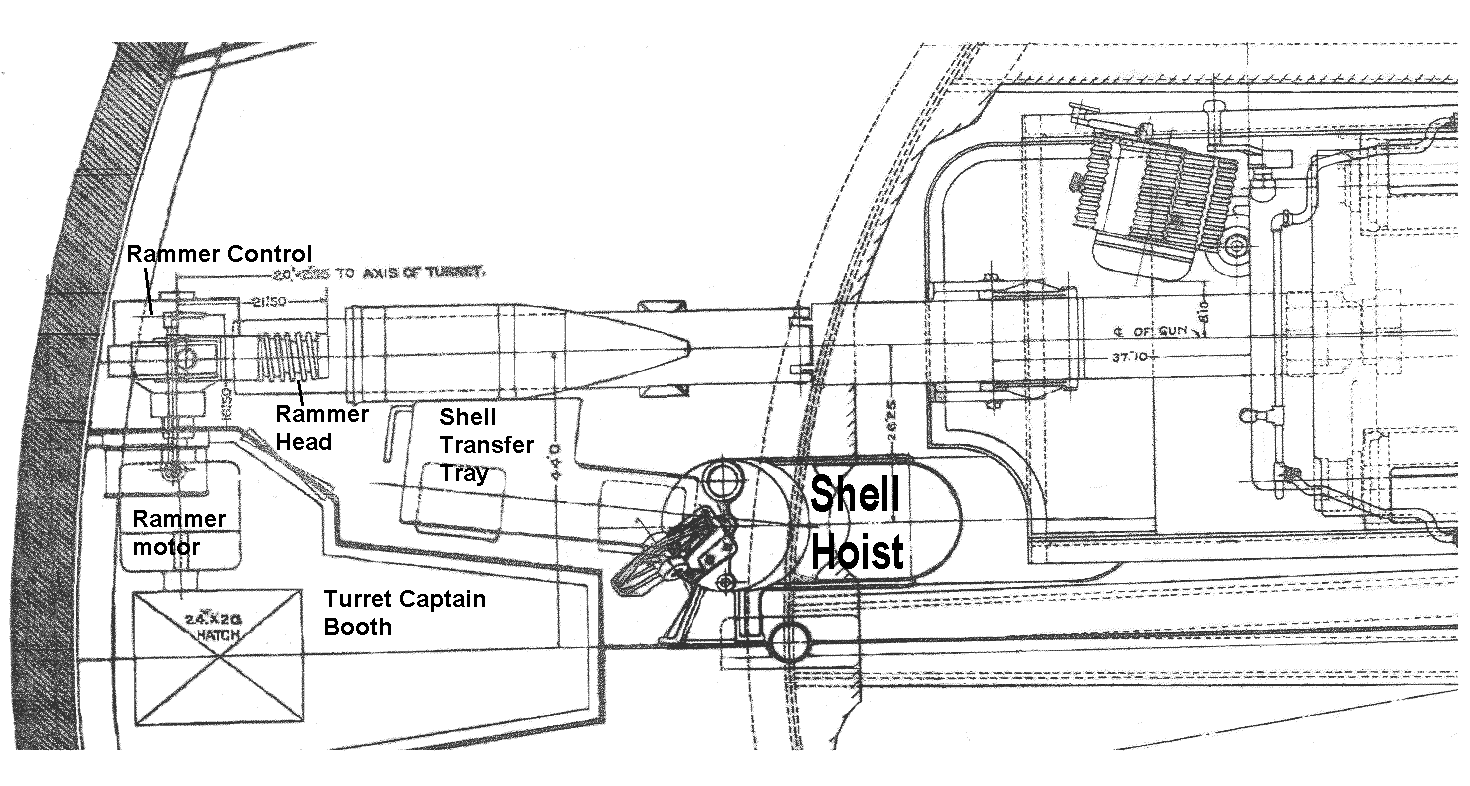
| Section of "General Arrangement, Plan - 14inch Mount, Mark I", C&R 19020, 2 Feb 1912. Scanned from paper copy made from microfilm, in the BB35 archives. Click here for full image |
 |
| Step 3 of 5: Getting Powder Bags Up and Loaded |
| While sailors were moving shells up to the Gun Deck, other sailors were simultaneously moving up powder bags. Very labor intensive, especially compared with WWII constructed battleships. From the time a bag is placed in powder hoist in the 1st platform there are 5 more manual steps: |
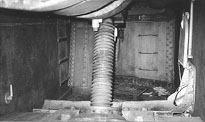
| Powder Handling Flat - One powder bag exits from the powder
hoist onto a stainless steel tray. The hoist comes up directly from the Handling
Room on 1st Platform and stays in continuous movement (it is not stopped to
remove the bag). Manual Step 1: The bags are then pushed to
either port or starboard side. At the end of the tray is a counter-weight hoist
into which a sailor places one bag for lifting up to the Powder Transfer Room. Powder Transfer Room - receiving from Powder Handling Flat, Manual Step 2 one sailor picks up the bag and places on the deck on wooden tapered rollers for movement into the Gun Pit. (Two sailors worked in this very little room). Gun Pit - Receiving from Powder Transfer Room, Manual Step 3 is one sailor picking up the bag handing up to a sailor on Gun Deck. (Two sailors worked in the Gun Pit) Gun Deck - *** Manual Step 4: Sailor placed the bag on the loading tray. With two bags on the tray, *** Manual Step 5 Two sailors using a wooden pole with leather paddd end to ram the 2 bags (188 bs in 1914 and 210lbs in 1945) into the breech. The process is repeated a second time. With four bags in the gun, the breech is ready for closing. |
|
|
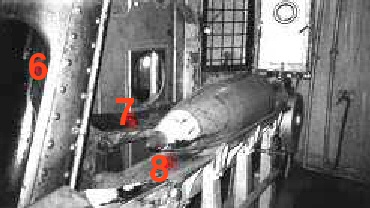
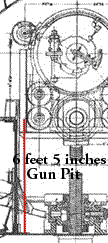
 Gun Pit, looking aft. The open door right is a flash barrier between the Gun Pit and the Powder Transfer Room. The tray on the deck is powder bag transfer chute from the Powder Transfer Room. The tall threaded rod is the gun elevation screw |
 |
 Replica
powder bags made in 2000 by volunteers Ed and Alita Morrison. RIP Ed Replica
powder bags made in 2000 by volunteers Ed and Alita Morrison. RIP Ed |
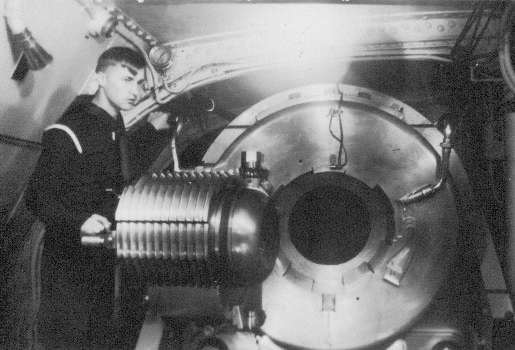
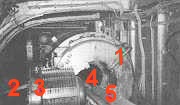
| Step 4 of 5: Making Ready To Fire |
| Pull loading tray (5) out of the breech by pushing the
tray upward and toward the rear. Swing breech handle (2) outward, moving the breech (3) into it's seat (4) then push the handle up to seal the breech. Insert electrical fired primer (about the size of a 45cal cartridge) into the breech. |
|
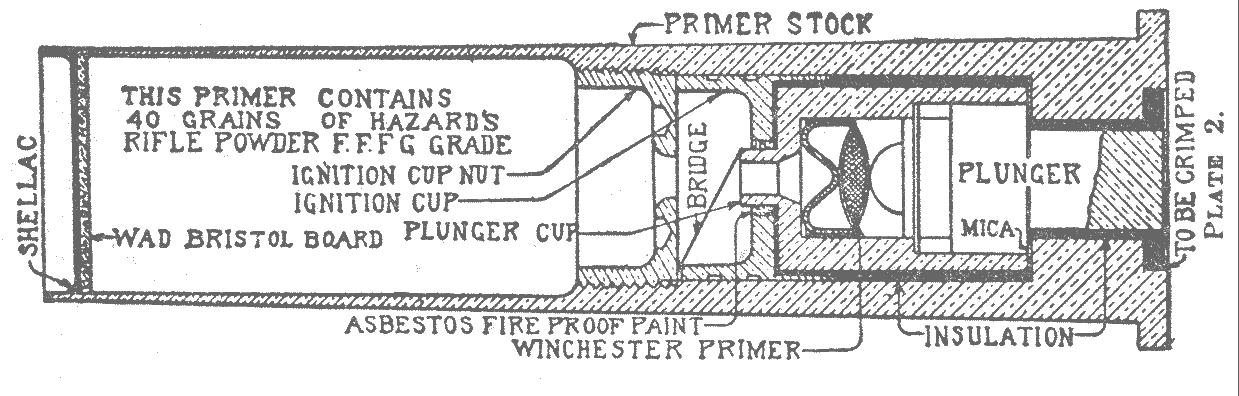
| Primer from "The Bluejackets Manual", 1917, 4th edition |
 |
| Step 5 of 5: Firing |
| With centralized fire control, the Turret Captain pulls his firing trigger
and a similar firing trigger is pulled in Plot Room. (A second turret firing
trigger is located at the Trainer and Pointer location). When the attitude of
the ship matches the conditions set into the Vertical Stable Element (which is
in the Plot Room), a circuit is completed igniting the primer which in in turn
ignites the four power bags propelling the shell out of the gun barrel . Independent firing of centralized fire control can be done with just a turret firing trigger. |